What is Mochi Ice Cream
We introduce a small, handheld dessert where a soft, chewy rice dough wraps cold ice cream for a contrast of textures we enjoy.
You’ll spot these treats in Japanese restaurants and the frozen aisle of most U.S. grocers in flavors like strawberry, green tea, chocolate, mango, and vanilla.
At home, we can make mochi ice with a handful of pantry items: sweet rice flour such as mochiko or shiratamako, plus potato or corn starch for dusting.
We’ll preview a clear recipe that walks us through pre-scooping ice cream, cooking the batter in minutes, cutting rounds, wrapping each ball, and staging them in the freezer to finish.
Along the way we’ll clarify terms so we all shop for the right ingredients, and share tips to keep the dough from sticking while we wrap neat, bouncy treats.
What is Mochi Ice Cream
We define a compact confection that pairs elastic rice dough with a frozen center to create bite-sized rounds that balance chew and cream. The outer layer behaves like a soft rice cake, giving a springy feel at room temperature and holding shape around a cold scoop.
Traditionally, mochi made from steamed glutinous rice is pounded into a paste. In our quick method we mimic that texture using sweet rice flour, sugar, and water cooked in the microwave then stretched while warm.
How this differs from plain rice treats: a classic rice cake or daifuku often hides sweet bean paste, while mochi ice cream wraps a frozen filling. That changes handling—thinner dough and chilling matter more when working with ice.
Key handling tips:
- Dust with potato or cornstarch so the dough won’t stick as we roll and cut.
- Keep the wrapper thin but resilient so it stretches over the ice without tearing.
- Use plastic wrap microwave technique for the quick batter step, then chill before wrapping.
From Japan to Our Freezer: Origins and History
This treat traces a path from sacred New Year gatherings in Japan to supermarket freezers worldwide.
Families gathered for mochitsuki to pound steamed glutinous rice into a celebratory rice cake at new year. That communal ritual shaped the soft texture we admire today.

Commercial evolution followed. In 1981 Lotte launched Yukimi Daifuku, a packaged wrapper around a frozen center that set a modern standard.
In the U.S., Frances Hashimoto of Mikawaya led R&D in the early 1990s and debuted the product in Hawaii in 1994. Sales captured 15% of the novelty frozen treat market in months, proving wide appeal.
Social media later amplified demand; a 2021 UK TikTok trend pushed Little Moons views into the hundreds of millions and spiked Tesco sales by 1400%.
| Milestone | Year | Region | Impact |
|---|---|---|---|
| Mochitsuki tradition | historic | Japan | Cultural root for soft rice texture |
| Yukimi Daifuku launch | 1981 | Japan | Packaged mochi-wrapped frozen product |
| Mikawaya U.S. debut | 1994 | Hawaii / USA | Rapid market share growth, national spread |
| Viral trend | 2021 | UK / global | Massive sales spike from social discovery |
Understanding these steps helps us as home cooks. It explains choices in dough handling, freezing, and balance between wrapper elasticity and frozen filling so our batches hold shape and taste true.
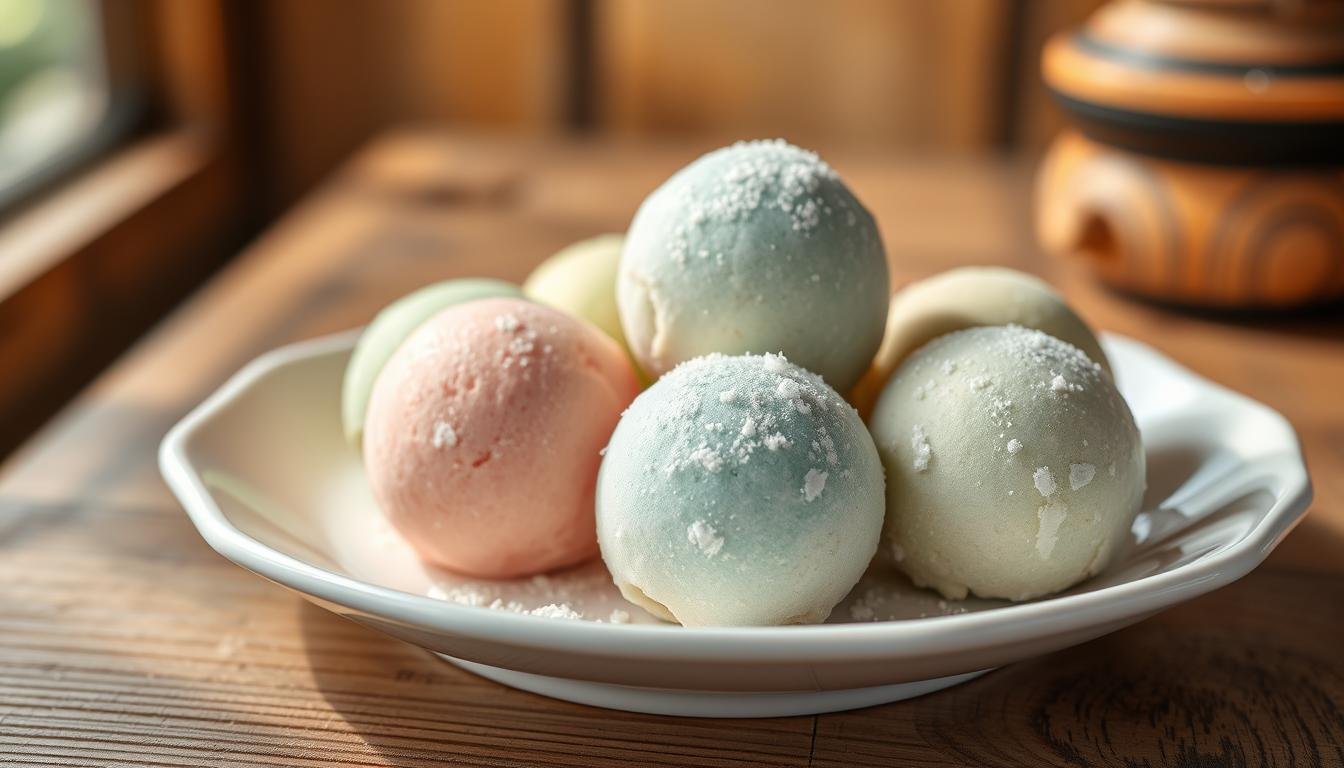
Taste and Texture: What We Can Expect
A soft, elastic shell meets a refreshing frozen center, creating a lively contrast on the tongue.
The rice dough brings a mild, slightly milky note that supports stronger flavors. That subtle wrapper lets vanilla, chocolate, green tea, or mango shine without competing. In our experience, a thin layer highlights the filling’s creaminess. A thicker wrap makes each chew more pronounced.
Temperature matters. If we let treats sit a few minutes after removing from the freezer, the dough softens and becomes pleasantly stretchy while the center stays scoopable. A clean seal keeps the sphere uniform so every bite balances wrapper and filling.
- Texture: tender, bouncy dough yields to a cool, rich middle.
- Flavor: the wrapper can be dusted or flavored with matcha or cocoa to echo fillings.
- Service tip: add crunchy toppings for contrast while preserving the chew and chill.
Finally, moisture control is key. Starch dusting and quick assembly prevent the wrapper from becoming gummy around ice and help us keep neat, even rounds for consistent taste and texture.
Core Ingredients for Authentic Mochi Dough
Choosing the right pantry items makes the difference between a stretchy wrapper and a gummy mess. We start by naming must-have flours and finishing with simple flavor choices that keep fillings bright.

Sweet rice flour versus regular rice flour
Use mochiko or shiratamako sweet rice flour for the correct stretch and chew. Regular rice flour lacks the sticky starch and will not form the right texture.
Starch for dusting and handling
Generously dust work surfaces and tools with potato or corn starch to stop sticking. Brush off excess starch before you wrap so the dough seals cleanly.
Optional add-ins and balance
- Add matcha or cocoa powder for color and depth.
- Use a splash of vanilla extract or fruit powder for gentle aroma.
- Keep sugar low so the wrapper complements ice cream and fruit fillings.
Cook the batter until slightly translucent, roll the sheet to about 1/4‑inch, chill, then cut. We use plastic wrap when microwaving to keep moisture even and to roll dough without tearing.
Tools and Prep: Setting Us Up for Success
A chilled tool kit and a clear workflow keep our rounds uniform and our hands clean. Set up near the freezer so we move quickly and limit melting.
Essential handheld tools
We rely on a reliable ice cream scoop to portion small ice cream centers consistently. A cream scoop gives even balls so wrapping is predictable.
Use a rubber spatula to fold and scrape sticky dough. Plastic wrap squares help us stage and seal each piece quickly.
Surface and transfer gear
A rolling pin helps us roll dough to an even thickness before chilling. Line a baking sheet with parchment to move the sheet to the freezer without stretching.
Cookie cutters (about 3 3/4 inches) make uniform rounds that wrap neatly. Keep knives and cutters ready to avoid delays once the dough is set.
Holding and finishing aids
Use a cupcake tin or egg carton to keep wrapped pieces seam-side down while they set. Pre-cut plastic pieces for final wrap reduce fumbles.
A sifter dusts starch evenly and a pastry brush removes excess starch for cleaner seals. Chill the scoop between portions to protect shape.
| Holder | Best use | Notes |
|---|---|---|
| Cupcake tin | Freeze multiple pieces upright | Holds shape; works well in small freezers |
| Parchment-lined tray | Transfer dough sheet to cold | Prevents sticking; easy to slide into freezer |
| Egg carton (clean) | Individual rests for seam-side down | Inexpensive; cushions and keeps round edges |
| Cookie cutter | Cut uniform rounds before wrapping | Use 3 3/4″ for typical small portions |
How to Make Mochi Ice Cream at Home, Step by Step
We walk through a practical, step-by-step process that turns pantry staples into neat frozen treats at home. Follow this sequence so the rice dough stays pliable and the frozen centers remain solid while we work.
Freeze small ice cream balls for easy wrapping
Chill a scoop pan and portion eight to twelve small ice cream balls with an ice cream scoop or cream scoop. Drop each ball onto plastic wrap or parchment, twist the wrap, or place balls in a cupcake tin.
Freeze at least 30 minutes until very firm.
Microwave method for the rice dough
Combine sweet rice flour and sugar with water in a microwave-safe bowl. Cover and microwave 60 seconds, stir, then 30–60 seconds more until slightly translucent.
Roll, cut, and wrap
Dust a plastic-wrapped or parchment sheet generously with potato starch. Scrape the hot dough out with a rubber spatula, dust the top, and roll dough to about 1/4 inch.
Chill 15–30 minutes, cut 3 3/4–4 inch rounds, place a frozen ice cream ball in the center, pull edges up, pinch to seal, and wrap each piece in plastic wrap.
Final freeze and timing
Set seam-side down on a tray and return to the freezer for at least 2 hours. Let pieces rest a few minutes before serving so the dough softens and the balance of chew and ice cream is pleasant.
Pro Tips to Prevent Sticking and Keep Perfect Shape
A few precise habits keep our rounds neat and stop the dough from sticking as we work. Follow a quick routine and the whole process stays smooth, from handling to final freeze.
Starch management and one-at-a-time workflow
We dust the surface, tools, the sheet, and our hands generously with potato or corn starch to prevent sticking. Brush off excess before sealing so the exterior stays clean.
Work with a single frozen scoop at a time. That reduces melt, keeps the wrapper dry, and lets us return each piece to the freezer right away to set the seam.
Chill strategy, microwave wattage, and tool readiness
Calibrate microwave times to your wattage—adjust minutes so the rice flour cooks through but stays tender. Under- or overcooking harms stretch and causes tears.
- Keep scoops and cutters chilled, and pre-cut plastic wrap for fast sealing.
- Use cupcake tins or egg cartons to hold seam-side down while pieces set in the freezer.
- Minimize handling after sealing; gentle cupping is fine, but avoid rubbing that can undo starch protection and prevent sticking.
Flavor Ideas and Variations We Love
Flavor choices steer every bite, so we balance wrapper and filling for the best result.
Classic scoops to keep on hand: vanilla, chocolate, strawberry, green tea, and mango. These let us mirror popular boxes while staying simple to portion and freeze.

For creative twists try black sesame with vanilla, coffee with chocolate, or plum wine paired with strawberry. A chili-mango twist—light dusting of chili powder on the dough—gives a bright sweet‑heat finish.
We also flavor the wrapper: a matcha dough for earthiness or a cocoa dough for deeper notes. Keep dough flavors subtle so they lift the filling rather than mask it.
Cookie-style fillings and chopped nuts add texture. Seasonal riffs work well—peppermint with chocolate in winter or berry scoops in summer.
| Flavor | Suggested Dough | Why it works |
|---|---|---|
| Vanilla | Lightly sweet rice dough | Shows classic creaminess without overpowering |
| Black sesame | Neutral or slightly sweet dough | Nutty depth complements mild vanilla |
| Mango + chili | Plain dusted dough with chili | Sweet and spicy contrast; bold finish |
| Chocolate | Cocoa‑infused dough | Layered richness; visual contrast |
Where to Buy Mochi Ice Cream in the United States
We find the best selection at specialty Asian markets, then turn to mainstream grocers for convenience and steady stock. Specialty chains often carry seasonal flavors and artisanal varieties that help us compare texture and sweetness.
Japanese and Asian supermarkets vs. mainstream grocers
Shop Uwajimaya, Nijiya, and Mitsuwa when we want broad flavor ranges and limited-run varieties. Korean and Chinese markets often stock regional brands and unique fillings that guide our home batches.
Trader Joe’s, Whole Foods, and Safeway carry familiar boxes, usually six pieces per pack. These stores make it easy to grab a stable supply during regular shopping trips.
Brands to look for: Mikawaya, My/Mo, Maeda-en, Bubbies
We recommend sampling Mikawaya, My/Mo, Maeda-en, and Bubbies to learn how dough thickness, sweetness, and seal quality differ. Typical flavors include matcha, strawberry, chocolate, mango, black sesame, vanilla, coffee, and plum wine.
Keep purchases in an insulated bag and place boxes quickly into the freezer once home. Scan labels for allergens—sesame and nuts appear in some gourmet options.
| Store type | Example | Why shop |
|---|---|---|
| Specialty Asian market | Uwajimaya, Nijiya, Mitsuwa | Wide flavors, seasonal varieties |
| Mainstream grocer | Trader Joe’s, Whole Foods, Safeway | Convenience, consistent boxes (often 6 pieces) |
| Brand-focused | Mikawaya, My/Mo, Bubbies | Benchmark textures to compare our homemade results |
Serve, Store, and Enjoy—Bringing Mochi Ice Cream Home, Today
Follow a short routine after wrapping so every piece holds shape and flavor for guests or quick snacks.
Freeze wrapped rounds at least 2 hours until solid, then store them in an airtight container in the coldest part of the freezer to avoid odors. Use plastic wrap to keep surfaces smooth and to protect the finish.
Keep each ice cream ball seam-side down while they set. If you must stack, slip parchment between layers to protect the dough and the wrap.
To serve, unwrap a cream ball just before plating and let it rest a few minutes so the dough softens and the ice center relaxes. If a piece feels too firm, wait another couple minutes—this step makes the chewy‑creamy contrast at the first bite.
These small habits help this recipe travel from our kitchen to the table with tidy rounds and consistent texture.