How to Make Soft Serve Ice Cream
We introduce a clear, practical recipe for creating pipeable, swirlable frozen dessert at home. Our goal is a light texture with tiny crystals and plenty of air, similar to machine-made soft serve.
We outline two reliable no-machine paths: a fast-freeze stand-mixer method using food-grade dry ice and a bag-and-shake approach with ice and salt. Both aim to limit crystal size and add air for a creamy mouthfeel.
Key facts guide our process: serving temperature near 18–22°F and overrun around 33–45% create that signature texture. Simple ingredients—milk, heavy cream, sugar, dry milk powder, vanilla, and salt—build flavor and body.
We list essentials for the bench: a mixer, piping or zip-top bags, a thermometer, and gloves for dry ice. Timing varies by method, but many batches reach swirlable form in under an hour.
Why We Make Soft Serve Ice Cream at Home
At home we recreate the core physics of air and rapid freezing without a bulky commercial unit. That lets us skip long stabilizer lists and use simple ingredients like heavy cream, whole milk, sugar, vanilla, and salt.
We save money and counter space by avoiding a costly machine. A stand mixer, piping bag, or even plastic bags with ice and salt delivers much of the same effect: aeration plus fast partial freezing.
Making our own gives full flavor control. We adjust sweetness and salt, pick fresh dairy, and serve recipes tailored to dietary needs. Small batches stay fresher and reach peak texture right when we want to serve.
| Method | Cost | Batch Size | Speed & Control |
|---|---|---|---|
| Commercial machine | High purchase & maintenance | Large, continuous | Fast but complex controls |
| Dry-ice + mixer | Moderate, occasional dry ice cost | Medium to large | Very fast, precise texture |
| Bag-and-shake | Low, uses pantry items | Small, on-demand | Quick, hands-on control |
What Makes Soft Serve…Soft
Our focus here is the science behind the airy, pipeable texture that sets soft-serve apart. We cover overrun, bubble size, and the warmer serving range that gives each bite a quick melt.
Aeration and Overrun: Building Tiny Bubbles for That Cloudlike Texture
Overrun is the percentage of air whipped into a batch. We aim for roughly 33–45% air by volume for a light, swirlable product. Premium frozen treats often sit near 20–25% overrun, so more air yields a softer mouthfeel.
Tiny, even bubbles and rapid partial freezing limit large crystal growth. We introduce air during mixing, then freeze quickly so the microbubbles stay stable. Milk proteins and sugars help hold that structure while adding body.
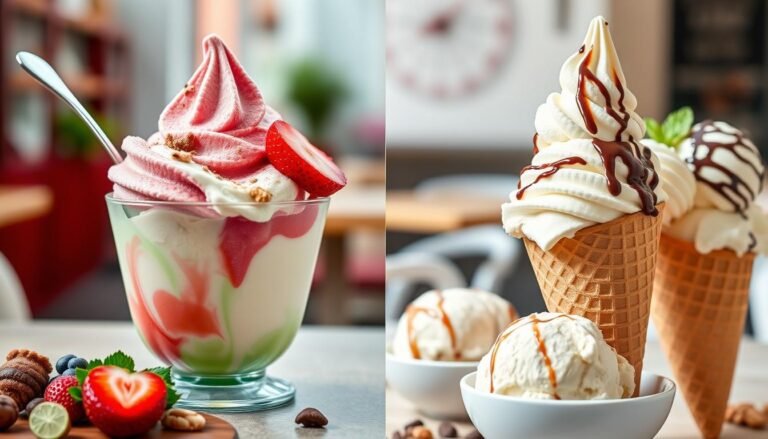
Ideal Serving Temperature (18–22°F) vs. Hard Ice Counterparts
We target 18–22°F for the final product. That warmer window keeps the mix tender and allows an immediate melt on the tongue. Hard versions stored near 0°F feel firmer and lose the instant, cloudlike bite.
- Higher overrun = lighter feel that still pipes well.
- Fast freeze or constant motion keeps crystals small.
- Dry milk powder boosts solids and reduces iciness.
| Factor | Soft-Serve Range | Hard Counterpart |
|---|---|---|
| Overrun (air) | 33–45% | 20–25% |
| Serving Temp | 18–22°F | ~0°F |
| Key Goal | Swirlable texture | Firm scoopable |
Tools and Ingredients We Trust for Homemade Soft Serve
Good results start with the right equipment and a clean, cold cream base. We set up our station so every step flows and the mixture chills fast.
Essential tools for the job
We rely on a stand mixer with a paddle or a robust hand mixer to introduce air quickly.
A piping bag with a large tip, or a heavy-duty zip-top bag, gives the classic swirl. We pick a wide nozzle to keep aeration intact.
A digital thermometer helps us watch for the 18–22°F window while freezer-safe containers and pre-chilled bowls slow melting.
Core pantry ingredients
Our cream base uses heavy cream and whole milk for fat and body. We add sugar, a pinch of salt, vanilla extract, and dry milk powder for extra solids.
We keep everything cold before freezing. Cold ingredients freeze faster and yield smaller crystals in the final mixture.
- Gloves and a towel for safe dry ice handling.
- Choose batch size by tool: large mixer bowls for party portions, a small bag for single cups.
- Pre-chill all bowls and containers when possible.
| Item | Purpose | When to use |
|---|---|---|
| Stand mixer / hand mixer | Incorporate air and build overrun | During initial whipping |
| Piping bag / zip bag | Pipe swirls and portion servings | At finish for presentation |
| Thermometer | Monitor serving temperature | Throughout freezing and final check |
| Heavy cream & whole milk | Base fat and mouthfeel | Combine, chill, then freeze |
How to Make Soft Serve Ice Cream
We present three reliable paths for turning a chilled base into a pipeable dessert without a commercial machine. Each method balances speed, texture, and batch size so we pick the best match for our needs.

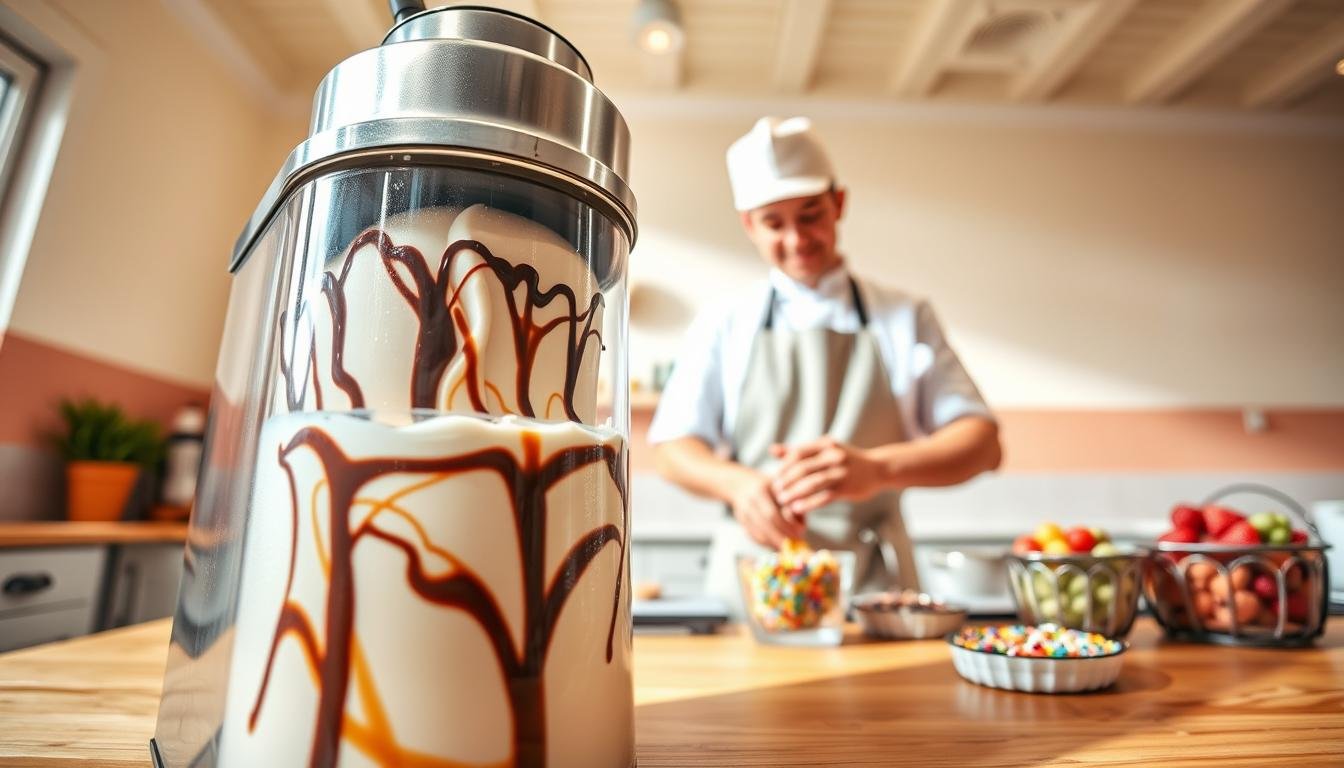
No-machine dry ice method for fast freezing and smooth texture
Blend a cold base of milk, cream, sugar, vanilla, salt, and dry milk powder. Add finely crushed food-grade dry ice one spoonful at a time into a mixer bowl. Pause between additions so CO2 clears and the mixture thickens.
Stop when the mixture is pipeable. Best serve within two hours for peak gloss and mouthfeel.
Bag-and-shake method with ice and salt for quick small batches
Seal the base in a sturdy bag and nest it inside a larger bag filled with ice and salt. Shake hard for 5–10 minutes until the mixture reaches soft-serve consistency. Pipe and serve immediately.
Pre-whipped and hybrid bases for stability and flavor
Whip the chilled base to soft or stiff peaks, fold in a little sweetened condensed milk and dry milk powder for body, then quick-freeze and re-whip. This gives extra air and slower melting without a machine.
- Chill everything first — cold starts keep crystals tiny.
- Prepare cones and toppings before the final window.
- Use gloves for dry ice and strong bags for shaking.
| Method | Best for | Timing |
|---|---|---|
| Dry ice + mixer | Large, ultra-smooth | Under 30 minutes |
| Bag-and-shake | Single servings, quick fun | 5–10 minutes |
| Pre-whipped/hybrid | Stable texture, more air | Short freeze + re-whip |
Step-by-Step: Dry Ice Soft Serve at Home Without a Machine
A controlled, spoon-by-spoon dry ice addition lets us turn a cold dairy base into immediate, swirl-ready dessert. Safety and pacing are the core concerns before we start churning.
Safety first: food-grade dry ice and protective gear
We always confirm the dry ice is food-grade. Gloves, eye protection, and an eye-level view are mandatory.
Crush about 900 g (2 lb) into a fine powder using a towel and heavy pan. Store it in a plastic container in the freezer until ready.
Mix, chill, and paddle for glossy texture
Blend the ice cream base: 4 cups full-fat milk, 1 cup sugar, 2/3 cup heavy cream, 3/4 cup dry milk powder, 1/2 tsp vanilla, and 1/2 tsp salt. Chill thoroughly.
Pour the cold base into a stand mixer fitted with the paddle. Add crushed dry ice one spoonful at a time at medium speed.
Let steam and foam subside between additions. Increase speed as the mix thickens until it is glossy and holds soft peaks.
Timing and short-term storage
We stop as soon as the mixture is pipeable. Over-freezing pushes the batch toward hard ice cream.
Pipe into cones or cups and serve within two hours for the best mouthfeel. If holding briefly, freeze for a short time and re-mix before piping.
- Patience prevents bubbling-over and keeps texture smooth.
- Keep extra base refrigerated, not frozen, until processing.
- Clean equipment promptly to remove frost and dairy residue.
| Step | Action | Why it matters |
|---|---|---|
| Prep | Chill base and crush dry ice | Faster freeze, smaller crystals |
| Addition | One spoon at a time in mixer | Avoids boil-over and keeps texture |
| Finish | Pipe and serve within 2 hours | Peak gloss and mouthfeel |
The Bag-and-Shake Soft Serve for a Fun, Hands-On Recipe
This hands-on bag-and-shake method turns pantry staples into a quick, playful dessert in under ten minutes. We use two bags, salted ice, and vigorous shaking to freeze a small base fast while folding in air for a creamy bite.
Plastic bag setup, salted ice, and five-minute shake
In a small sealed bag combine 1/2 cup heavy cream, 1/2 cup whole milk, 4 1/2 tablespoons sugar, and 3/4 teaspoon vanilla. Seal and press gently until the sugar dissolves.
Place that small bag inside a larger plastic bag filled with 3 cups ice and 1/3 cup kosher salt. Seal tightly and shake vigorously for about 5 minutes. In cooler rooms or for larger batches plan 7–10 minutes.
- Check seals to avoid leaks and dry the inner bag before opening.
- Salt lowers the freezing point of the ice and speeds crystallization.
- Yield: roughly two servings; pipe or portion into cups immediately.
| Step | Time | Result |
|---|---|---|
| Shake | 5–10 minutes | Spoonable, pipeable texture |
| Portion | Immediate | Best freshness and softness |
| Batch size | Small | About 2 cups finished |

Dialing in Texture and Air for Perfect Soft Serve
We track simple visual and tactile signs while adjusting air and time so each batch reaches a consistent, creamy finish.
Whipping cues: soft peaks vs. stiff peaks
We aim for soft peaks for most cream bases. Soft peaks trap air without getting dry or buttery.
Over-whipping to stiff peaks makes a crumbly mouthfeel that ruins our ice cream texture.
When to fold and preserve structure
We fold gently with broad strokes so the cream mixture keeps its lift. Add flavorings or nuts at the end.
- Fold in ripples just before piping to protect air.
- Keep tools cold to slow melting and keep small crystals.
- Prepare piping bags and cups ahead of time; the window can be brief.
Freezing windows: catching the spoonable, pipeable moment
The ideal moment feels spoonable but holds peaks. A spatula trail should fill in slowly.
| Cue | Sign | Action |
|---|---|---|
| Gloss | Shiny surface | Pipe now |
| Peak | Soft, holds briefly | Transfer to bag |
| After chill | 60–90 minutes re-whip | Even crystals, better swirl |
Flavor Ideas, Mix-Ins, and Toppings We Love
We treat the base as a canvas, layering classic infusions and bold swirls that keep each serving lively and balanced.

Classic infusions we use
Split a real vanilla bean and steep its seeds for a clean, floral vanilla note. For chocolate depth we whisk cocoa with melted dark chocolate.
For coffee hits we stir in espresso powder or a splash of cold brew. For mint, warm the cream with fresh leaves, steep briefly, then strain and chill.
Creative swirls and ribbons
Fold warm cookie butter ribbons in at the final stage so air holds. Make cereal milk as a base for nostalgic sweetness.
Try miso caramel for salty-sweet contrast or reduce berries into dense ripples that add brightness without extra sugar.
Toppings and vessels
- Use magic shell for a crisp top and toasted coconut or freeze-dried fruit for light crunch.
- Pre-chill cones, waffle bowls, and cups so tall swirls hold longer as we serve.
- Stage toppings in small bowls and use squeeze bottles for neat drizzles when serving a crowd.
| Item | Effect | Best with |
|---|---|---|
| Magic shell | Snap and gloss | Vanilla, chocolate |
| Freeze-dried fruit | Intense flavor, low moisture | Fruit ripples, cereal milk |
| Waffle bowl | Sturdy vessel | Richer hybrid bases |
Common Problems and Quick Fixes
When a batch veers from our target texture, quick checks and small changes bring it back on track. Below we list fast diagnostics and remedies that fit most kitchens and small runs.
Troubleshooting icy or grainy batches
Icy results usually mean low fat or not enough air. We raise the cream ratio or add dry milk powder to increase milk solids.
A small amount of corn syrup can limit crystals. Chilling the ice cream base thoroughly before freezing also helps.
- Boost fat by increasing cream in the cream base.
- Add dry milk powder for more solids and less grit.
- Check salt in the bag method: correct salt speeds freezing; too little slows it.
- Keep extra chilled bowls and ice on hand for quick tweaks.
Fixes for batches that are too soft or too dense
Start colder or extend freeze by about 20–30 time minutes. A brief re-whip restores air and lightness.
Dense or hard results improve after a 5–10 minute rest at room temp, followed by a gentle stir to revive the cream mixture.
| Problem | Likely cause | Quick fix |
|---|---|---|
| Icy | Low fat/air | More cream, dry milk powder |
| Grainy | Large crystals | Chill base, add corn syrup |
| Too soft | Insufficient freeze | Extra 20–30 minutes |
| Too dense | Over-chilled or compacted | Rest 5–10 min, stir |
Serve, Swirl, and Share: Our Final Scoop
Here are simple finishing moves that elevate every homemade swirl into a tidy, tasty serving.
Fill a piping bag two-thirds full, fit a large tip, and pipe with steady circular pressure while building height. Finish with a quick twist for the iconic peak.
Pre-chill cups or bowls so the swirl holds longer. If the batch firms before piping, re-mix briefly to restore gloss and make the cream base pipeable again.
We keep extra bags ready for fast refills and invite sharing: pass cups around and let guests pick a drizzle or sprinkle. Our brief playbook—cold base, controlled aeration, quick freezing, prompt serving—gets repeatable results every time.