How To Make Protein Ice Cream
We introduce what we mean by a protein-focused frozen treat and why we guide you through test-driven methods that keep flavor and texture. Our goal is practical information you can use right now.
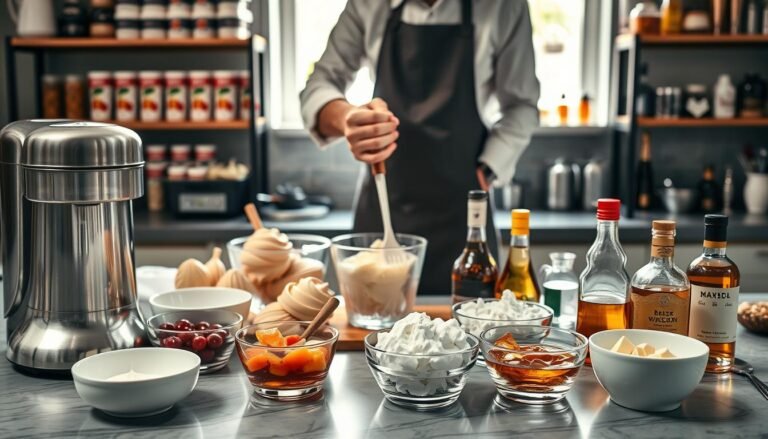
We outline three main methods: the Ninja Creami, quick blender blends, and a traditional churned approach. Each option fits different equipment, timing, and batch needs so you can pick the way that suits your kitchen.
Expect notes on how higher-protein bases change structure, what affects creaminess, and why small steps like resting mixes and limiting ice crystals matter. We preview key ingredients such as milk, Greek yogurt, cottage cheese, and powders, and explain their role in flavor and mouthfeel.
We also summarize time and gear at a glance, plus promise tested measurements, techniques, and macros for repeatable results. We invite you to decide a flavor direction early so your shopping matches your desired outcome.
We give three appliance paths and clear time estimates.
We provide tested ratios, storage tips, and flavor options.
What We Mean by Protein Ice Cream, Today
We define today’s high‑protein frozen treats by clear goals: more muscle‑friendly grams, fewer empty carbs, and a scoopable feel that doesn’t read as “diet” food.
Our approach centers on real user intent. Most readers want dessert that supports fitness or satiety without losing flavor or creamy texture.
User intent and our approach
We focus on practical information and fast results. Some methods give near‑instant blender blends in minutes. Others, like the Creami, need overnight freeze time but yield denser, lower‑calorie pints.
Benefits at a glance: protein, calories, sugar, texture
- Higher protein per serving for satiety and recovery.
- Often fewer calories and less added sugar than commercial pints.
- Small amounts of fat and added fiber improve mouthfeel and reduce iciness.
| Method | Typical time | Macro snapshot |
|---|---|---|
| Blender blend | ~minutes | ~256–269 kcal, 19–23 g protein |
| Ninja Creami | overnight freeze | ~181–445 kcal, 14–76 g protein |
| Churned batch | chill + churn | richer fat, classic consistency |
We’ll use these principles as we pick bases, thickeners, and flavor paths. Each choice affects texture, scoopability, and the macros you get when you serve a bowl.
Essential Ingredients for Creamy, High-Protein Results
Choosing the right ingredients makes the difference between a chalky frozen dessert and a silky scoop. We focus on base liquids, concentrated protein sources, and a few texture helpers that reduce ice crystals and improve mouthfeel.

Base liquids
Full‑fat milk adds body and helps reduce iciness. Unsweetened almond milk lightens calories and keeps mixes pourable.
Greek yogurt brings tang and thickness, while cottage cheese raises protein and gives a dense, cheesecake‑like profile. Canned coconut milk adds dairy‑free cream for richness.
Protein sources
Whey or casein powder gives structure and flavor when blended with milk. We also use unflavored collagen (about 10 g) for silky texture without chalk.
RTD shakes are a convenient base when time is tight. Pair flavored powder carefully—vanilla is versatile; chocolate plays well with cocoa and nut butters.
Texture helpers and dosing
Instant pudding mix (≈2 tbsp per pint) helps emulsify. Guar or xanthan gum, start at 1/4 tsp, cuts iciness. Use cocoa powder sparingly so the mix does not dry out.
A teaspoon of vanilla rounds low‑sugar bases. Thick mixes like cottage cheese benefit from a short blend for uniformity. Stage ingredients in a container with headroom for safe mixing and freezing.
| Base combo | Primary benefit | Suggested booster |
|---|---|---|
| Milk + protein powder | Balanced body, easy macros | 2 tbsp pudding or 1/4 tsp xanthan |
| Greek yogurt + milk | Thick, tangy texture | 10 g collagen or 1 tsp vanilla |
| RTD shake + Greek yogurt | Convenience + creaminess | 2 tbsp cocoa for chocolate flavor |
| Cottage cheese + milk | High protein, cheesecake notes | Quick blend, 1/4 tsp guar |
How To Make Protein Ice Cream with a Ninja Creami
Follow our Creami routine to turn shakes, yogurt, or cottage cheese into reliably creamy pints you can enjoy right away. We give clear steps for base choice, container prep, freeze timing, and spinning so results match your macro and texture goals.
Pick a base
Choose one tested combo: 12 oz RTD shake + 3 oz Greek yogurt + 2 tbsp powdered peanut butter; 1 1/4 cups Greek yogurt + 1/4 cup milk + 1 tsp vanilla + optional scoop of powder; 12 oz milk + 1 1/2 scoops protein + 10 g cocoa + 2 tbsp instant pudding; or 1 1/2 cups cottage cheese + 1/2 cup milk + 2 tbsp pudding. Each gives different kcal and grams of protein.
Mix, rest, and freeze
Stir or froth the mix in the official container. Rest uncovered 5–10 minutes to let foam settle. Then cap and place the pint on a level freezer shelf. Freeze overnight; do not exceed the max fill line on the container.
Spin, re‑spin, and adjust
Run the Lite Ice Cream program first. If texture is powdery, add 1–2 ounces of milk and hit Re‑Spin. Repeat one more pass if needed. If it turns too loose, refreeze briefly then Re‑Spin. These steps control ice crystals and overall cream.
Mix‑ins and flavor boosts
- Use the Mix‑In cycle for nuts, cookie pieces, fruit, or chocolate chips so chunks stay intact.
- Higher‑fat add‑ins give a silkier feel; pudding or a pinch of gums helps low‑fat bases.
- Adjust sweetness in the base; frozen servings taste less sweet. Add cocoa or a drop of vanilla for clear flavor notes.
| Base | Typical kcal | Protein (g) |
|---|---|---|
| RTD + Greek yogurt | 281–317 | ~43 |
| Milk + powder + cocoa | 235–323 | 41–62 |
| Cottage cheese blend | Varies | High, variable |
Blender Method: Protein Ice Cream Without a Cream Maker
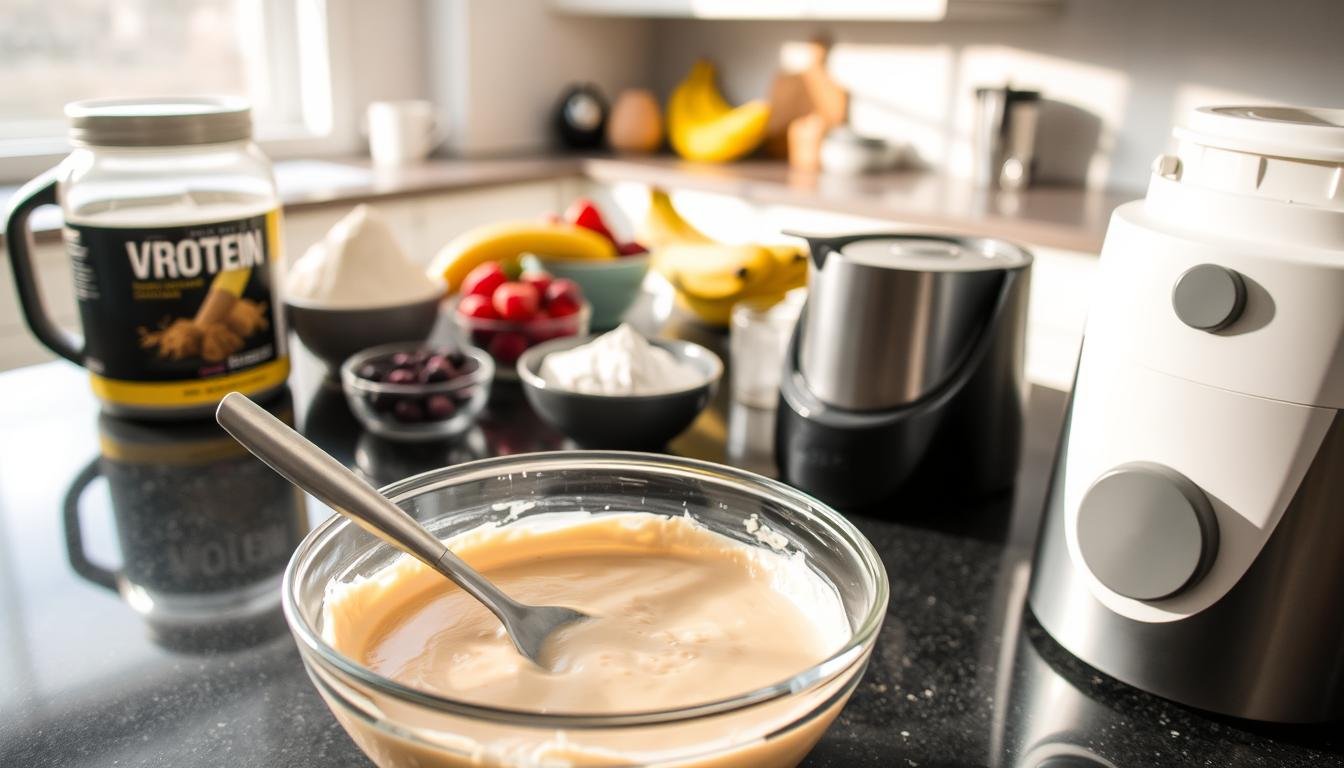
For quick, spoonable bowls we turn to a high‑speed blender and measured frozen components. This path needs no cream maker and gets dessert ready in minutes while keeping good texture.

Peanut butter chocolate
Build: 4 cups ice, 2 scoops chocolate protein powder, 2 tbsp natural peanut butter, 1 tbsp cacao nibs, 1 cup unsweetened chocolate almond milk.
Blend: start low, ramp to high, tamp for about 30 seconds. Serve immediately. Yield: 2 servings (~256 kcal each).
Vanilla blueberry
Build: 4 cups frozen blueberries, 2 scoops vanilla protein, 1 cup unsweetened vanilla almond milk.
Blend: ramp to high and tamp ~30 seconds for a thick, scoopable consistency. Yield: 2 servings (~269 kcal each).
Texture tactics
- Start with solid frozen elements, then add liquid for control.
- Use short blends and a tamper to keep the mixture cold and chunky for about 30 seconds.
- If too stiff, add a splash more almond milk; if too thin, add a handful more frozen fruit or ice.
- Taste for sweetness before the final 10‑second blend and fold in ribbons of peanut butter at the end for visible swirls.
| Recipe | Main frozen | Liquid |
|---|---|---|
| Peanut butter chocolate | ice | chocolate almond milk (1 cup) |
| Vanilla blueberry | frozen blueberries | vanilla almond milk (1 cup) |
| Notes | tamp ~30s | serve immediately |
Traditional Ice Cream Maker Method
The ice cream maker path rewards patience with a rich, smooth final product and clear leverage over calories and saturated fat.
We offer three dairy options: an all-cream base for classic richness, cream plus canned coconut milk for a dairy-forward but dairy-friendly twist, or cream plus Greek yogurt for tang and an extra protein bump.
Start the custard by whisking 3 whole eggs until homogenous. Add 1 teaspoon vanilla, 1 cup organic cane sugar, and 1 tablespoon collagen. Gradually whisk in your chosen dairy—either 1 liter heavy cream; 750 ml cream + 450 ml coconut milk; or 750 ml cream + 450 ml plain Greek yogurt.
Keep the canister well chilled unless your machine has a built-in compressor. Pour the cold base into the chilled bowl and churn per your maker’s directions. Avoid overfilling; allow headspace for expansion and air incorporation.
Serve as soft-serve straight from the machine or transfer to a chilled container and freeze to firm for scoopable servings. Note: cream-forward bases increase saturated fat and calories but deliver unmatched mouthfeel; the cream+Greek yogurt option yields about 309 kcal and ~7 g protein per serving in our 2‑quart batch.
- Equipment notes: budget Cuisinart 2‑Quart needs a pre-frozen bowl; Whynter 2‑Quart has compressor cooling; thrifted makers work if sized correctly.
- Flavoring: add vanilla or cocoa before churn; fold fragile mix-ins in the last minute of spinning.
- Storage: label with date and flavor; store near the back of the freezer for steady texture.
| Dairy Path | Key benefit | Batch note |
|---|---|---|
| All heavy cream (1 L) | Classic richness and mouthfeel | Higher calories and saturated fat |
| Cream + coconut milk (750 ml + 450 ml) | Richer but lighter dairy footprint | Good for partial dairy-free profiles |
| Cream + Greek yogurt (750 ml + 450 ml) | Tang, protein boost, firmer body | ~309 kcal per serving; ~7 g protein |
Flavor Ideas and Mix‑Ins We Love
We offer compact flavor blueprints and mix-in timing that keep texture and highlight taste. Use these pairings as templates and swap bases or puddings without changing technique.

Vanilla, chocolate, and peanut butter combinations
Vanilla shines with a touch of extract and a vanilla protein boost for clean, sweet notes.
Deep chocolate benefits from a teaspoon of cocoa and a dose of chocolate protein powder for intensity.
For peanut butter, add a pinch of salt and swirl in at the end so it stays ribboned and not fully blended.
Fruit-forward options and crunchy add-ins
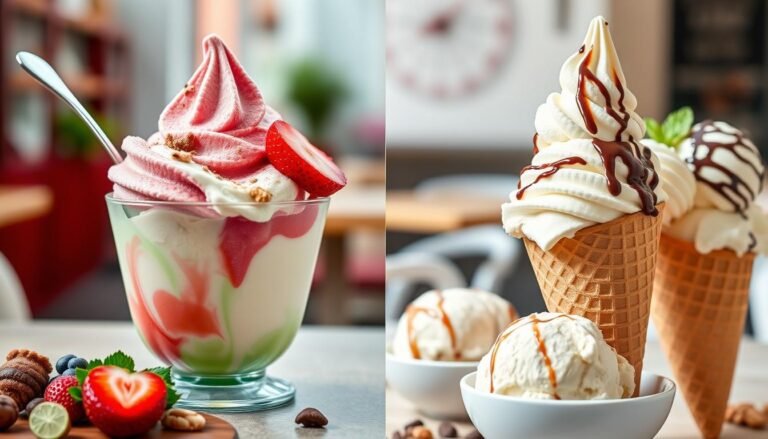
Blueberry-vanilla and strawberry-cheesecake use frozen fruit to thicken and sweeten naturally.
Chop nuts, cookies, or cacao nibs uniformly and add them during the final mix-in cycle to retain crunch.
We recommend keeping brief notes on favorite recipes so successful ratios are repeatable.
- Suggested Creami mix-ins: nuts, graham cracker crumbs, Oreo pieces, fresh or frozen fruit, chocolate chips.
- Pairings: banana yogurt + chocolate protein + banana pudding; pistachio yogurt + vanilla protein + pistachio pudding.
- Tip: use chocolate protein or vanilla protein to reinforce bases without extra sweetness.
| Flavor profile | Base booster | Powder choice | Mix-in timing |
|---|---|---|---|
| Vanilla bean | vanilla extract + pudding | vanilla protein | fold in at Re‑Spin or last minute |
| Deep chocolate | cocoa powder + a touch of espresso | chocolate protein | add chips during mix-in cycle |
| Peanut butter swirl | light salt + honey | neutral or vanilla protein | ribbon at end so swirls remain |
| Strawberry‑cheesecake | cream cheese or cheesecake pudding | vanilla protein | gentle fold to keep fruit texture |
Nutrition, Calories, and Time Trade‑Offs
We weigh the real-world trade-offs that link macros, prep time, and final texture so you can pick the right method for your goals.
Sample macros and portion planning
Creami pints often hit ~281–317 kcal with ~43 g protein for RTD + Greek yogurt mixes. Milk + powder variants run about 235–323 kcal and 41–62 g protein. Cottage cheese blends vary widely (≈181–449 kcal, 14–86 g protein).
Blender bowls like peanut butter chocolate and vanilla blueberry land near 256–269 kcal per cup and finish in about 30 seconds of high‑speed tamping.
Time, equipment, and cleanup
- Blender: fastest prep, minimal cleanup, needs tamping and fresh ice or frozen fruit.
- Creami: requires overnight freezer time, Lite program plus Re‑Spin; machine is loud but precise.
- Ice cream maker: chill the canister or use a compressor unit; longer churns, richer fat and saturated fat profile, larger container to wash.
| Method | Typical kcal | Protein (g) | Time |
|---|---|---|---|
| Creami pint (RTD+Yogurt) | 281–317 | ≈43 | overnight + spins |
| Blender bowl | 256–269 | ~19–23 | minutes |
| Churned batch (cream+yogurt) | ~309 | ~7 | chill + churn |
Fiber choices—frozen fruit, cacao nibs, or seeds—improve satiety and temper sugar impact. For scoopability, store pints and churned batches in shallow containers in the freezer and let rest briefly before serving. Quick rule: blender now, Creami for high protein pints, maker for indulgent mouthfeel.
Ready to Blend, Freeze, and Scoop
Here’s a quick action plan that gets a reliable bowl or pint on your schedule. Pick the way that fits your minutes and gear, then gather milk, powder, a tested recipe, and a mixing cup.
Prep a container for the freezer now if you plan a Creami or churned batch. For fast wins choose the blender peanut butter chocolate, a Creami milk + protein powder pint, or a churned vanilla for richer mouthfeel.
Portion smartly, note macros if you track, and keep a short list of favorite mix-ins—nuts, cocoa, or chocolate chips—on hand. Try a cottage cheese base for a cheesecake-like, protein-forward treat.
Whichever maker path you pick—blender, cream maker, or ice cream maker—you’ll have a repeatable process. Load the blender or freeze a base tonight and enjoy protein ice cream by tomorrow.