How to Open Talenti Ice Cream
We know many customers face a stubborn jar lid when they want a quick gelato treat. The brand has publicly acknowledged this tight-lid issue and traced it, at one point, to a lid-capping machine used in production.
We wrote this article to help people get their container open safely and without damage. Our goal is clear: show safe, common-sense techniques that protect the food and the plastic threads, and avoid risky shortcuts you may see on social media.
We recommend warm water as the primary way to ease the lid. A small temperature change makes the plastic expand slightly, so the lid twists off more easily. We also preview added-grip options that won’t harm the jar or its reuse value.
In the steps ahead we set expectations for time and results. We explain what an over-tightened seal feels like, why patience helps, and why our methods suit any container you have on hand.
Why Talenti lids get stuck and the safest way to get them open
A sealed jar that won’t budge often comes from factory tightening, not user error. The brand has acknowledged this issue and the safest way usually uses mild heat rather than force.
Thermal expansion explained in simple terms
Running warm water over the plastic lid for about 30 seconds makes the lid expand slightly while the cold jar beneath stays nearly unchanged. This small change in size loosens the seal so we can twist lid without damage.
What you’ll need and a quick pre-check
- warm water from the faucet focused on the rim
- a dry towel for a steady grip
- an intact jar and dry hands before you try

| Action | Why it works | Safety note |
|---|---|---|
| Run warm water on lid | Lid expands, threads loosen | Keep jar upright; avoid soaking label |
| Dry and grip | Improves control for twist lid | Use a towel, not metal tools |
| Repeat if needed | A second short cycle usually works | Protect creamy gelato inside |
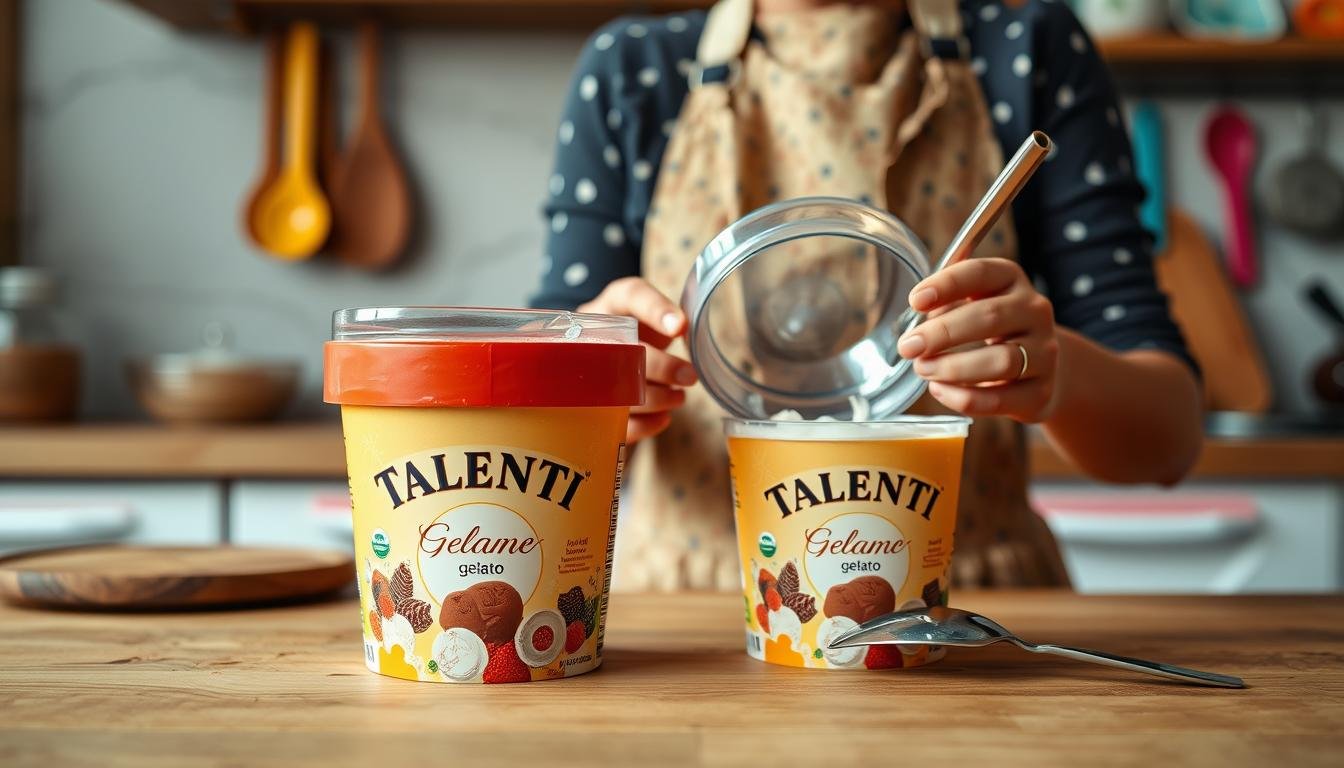
How to Open Talenti Ice Cream with warm water
Sometimes the jar lid seems bonded, and a calm, practical approach gets us back on track. We use a targeted warm water rinse that protects the plastic threads and keeps the container reusable.

Step-by-step: run warm water over the plastic lid and twist
Position the sink so we can rotate the jar under a steady stream of warm water aimed at the lid rim and threading. Keep the cold side of the jar out of direct heat.
- Run warm water around the lid for roughly 30 seconds.
- Dry the lid and jar, then grip with a towel and twist lid with a firm, steady motion.
- If it resists, repeat the brief warm water cycle and try again.
Troubleshooting a stubborn twist lid without damaging the jar
We avoid harsh tools and leverage that can deform threads. Gentle tapping with the handle of a butter knife around the circumference can break the seal without harm.
| Action | Why it works | When to stop |
|---|---|---|
| Warm water on rim | Plastic expands slightly, loosening threads | If jar gets warm on the side |
| Dry and two-hand twist | Restores grip and control | If lid still won’t move after repeat |
| Gentle tapping with knife handle | Breaks surface tension | Before using screwdrivers or other tools |
Preserve the jar for reuse and use a screwdriver only as a last resort. This way is safe, repeatable, and keeps our snack ready without damage.
Alternative safe methods when the lid won’t budge
A few simple, safe tricks can free a stubborn lid without risking the jar. We start with low-force options and only escalate if needed.

Use half a tennis ball for extra grip
Cut a tennis in half and cup the felt side over the lid. The rubber and grip increase torque while protecting the plastic threads.
Press the half ball firmly, then twist lid with steady, even pressure. Repeat after a short warm cycle if it still resists.
Try a gentle tap technique with the butter knife handle
Hold the jar upright and tap around the rim using the handle of a butter knife. Small taps break micro-binding at the threads.
Move around the circumference and check the twist lid after a few taps. Keep motions light and controlled.
Careful prying with a flathead screwdriver along the lid edge
If needed, insert the tip of a flathead screwdriver just under the edge and lift slightly in short increments.
Rotate the jar as you work so pressure stays shallow and spreads across the side of the rim. Stop if the plastic shows stress.
- Combine methods: warm briefly, dry, then use the tennis ball grip.
- Avoid power tools and forceful strikes that appear on some media.
- Our goal is to get open talenti with patience and preserve lid talenti threads for storage.
| Method | Effect | Safety tip |
|---|---|---|
| Half tennis ball | Boosts grip without deforming plastic | Press firmly, twist smoothly |
| Butter knife handle taps | Releases micro-bind at threads | Keep jar upright; light, even taps |
| Flathead screwdriver (shallow) | Allows gradual pry and rotate | Insert minimally; move frequently |
Enjoy your creamy gelato sooner and stay safe today
A short, sensible routine often clears the seal so we can reach the creamy gelato inside. Start with warm water on the rim, dry the jar, then twist the lid with a steady grip.
If the lid resists, repeat the brief water cycle and try again. Many customers and the brand have noted that a capping machine once caused tight seals, and fixes were soon found, though some people still see the issue.
Preserve the container for reuse by avoiding heavy tools. Try a tennis ball grip or light taps with a butter knife handle before any careful prying. Dry hands and the jar between attempts for better traction.
If a lid talenti still refuses after careful tries, contact brand support. With patience, warm water, and gentle methods, we get back to enjoying our frozen treat safely and without damage.